
Practical Camping Guide
How to Pack a Cooler for Camping
Pack a camping cooler by pre-chilling the cooler, refrigerating or freezing every item, grouping food by meal, placing slow-melting blocks or frozen bottles at the bottom, loading frozen later meals next, sealing raw food low, placing first-use food near the top, filling every gap with cubed ice or packs, and finishing with a cold top layer. Add a cooler thermometer and keep the food zone at 40°F (4°C) or below.
 By Danny WalkerUpdated 13 min read
Pack a camping cooler by pre-chilling the cooler, refrigerating or freezing every item, grouping food by meal, placing slow-melting blocks or frozen bottles at the bottom, loading frozen later meals next, sealing raw food low, placing first-use food near the top, filling every gap with cubed ice or packs, and finishing with a cold top layer. Add a cooler thermometer and keep the food zone at 40°F (4°C) or below.
This is a loading guide, not merely a list of foods. The goal is to open the lid briefly, lift out one meal bundle, and close it without digging through loose packages. The packing sequence also keeps leaking raw-food containers below ready-to-eat items and makes the coldest mass last into the later days.
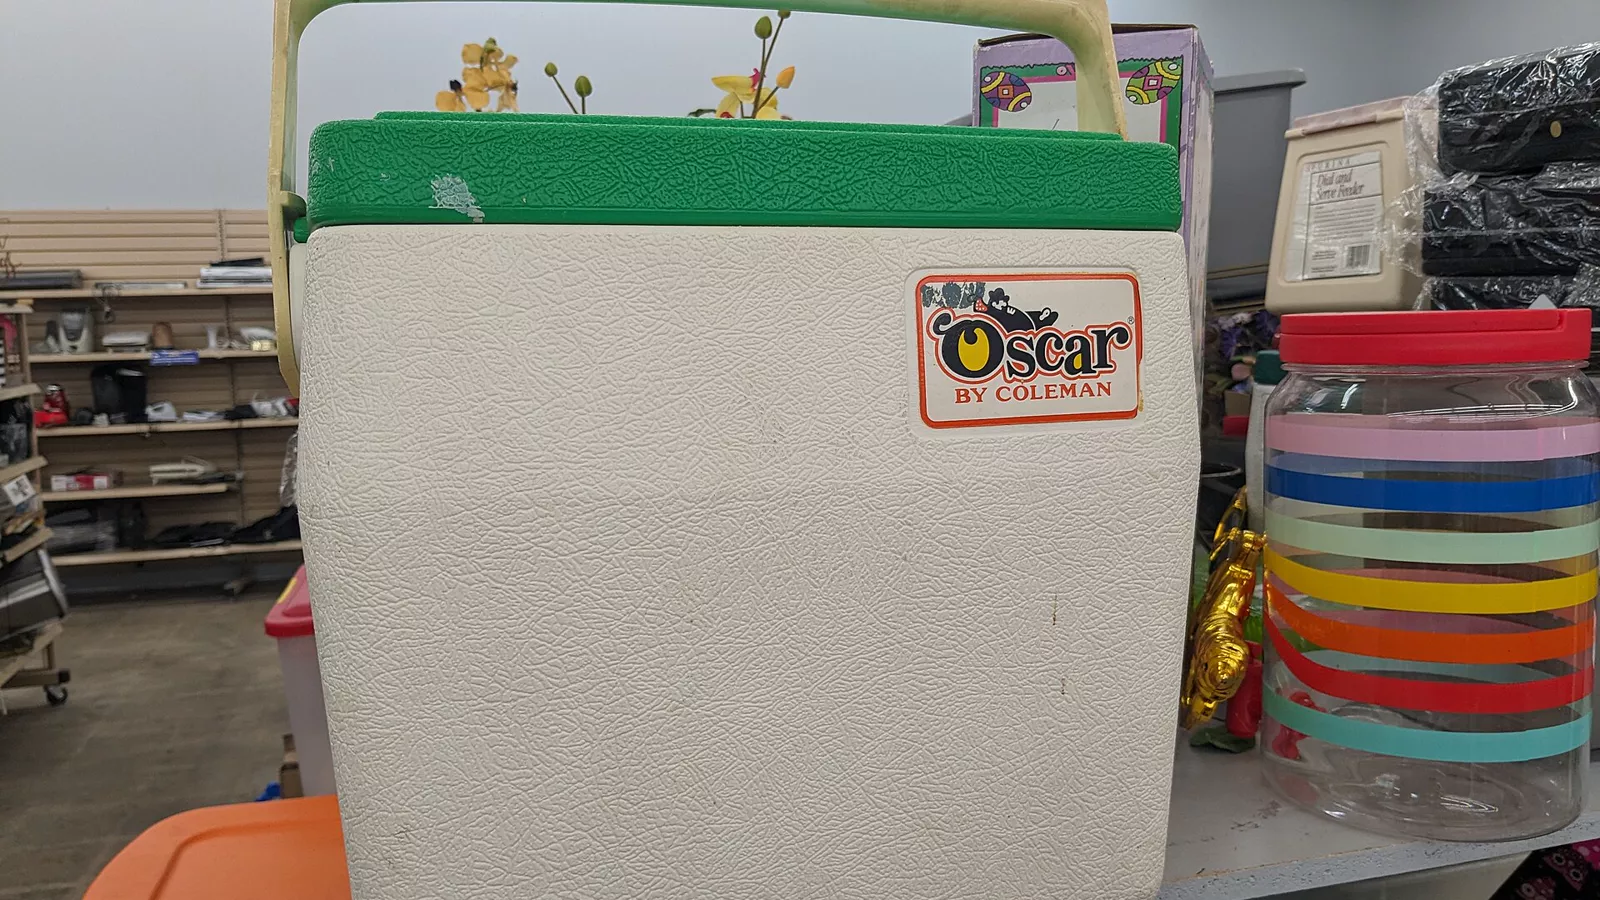
Cooler Packing Order
| Layer, bottom to top | What goes there | Purpose |
|---|---|---|
| Base | Block ice, frozen bottles, or large gel packs | Slow-melting cold reservoir |
| Lower food | Frozen later-day meals and sealed raw proteins | Coldest area; leakage kept below other food |
| Middle food | Chilled meal bags and durable containers | Organized daily access |
| Side gaps | Cubed ice or flexible cold packs | Removes warm air pockets |
| Upper food | First meal, breakfast, condiments | Fast retrieval |
| Top | Ice, frozen towel only if food-safe, or packs | Limits heat entering from lid |
Do not follow the order blindly if the cooler maker specifies another configuration or a drain, basket, or powered cooling plate needs clearance. Stability, food separation, and thermometer readings remain the tests.
Step 1: Plan the Menu Before the Container
Write every cooler-dependent meal in order. Remove foods that can be shelf-stable without reducing nutrition or enjoyment. Buy packages sized for one meal so opened leftovers do not occupy space or require uncertain cooling.
Count exact quantities with how much food to bring camping. A cooler should not be filled with “maybe” food. Extra packages consume cold mass, hide first-use ingredients, and increase the chance that raw and ready-to-eat items mix.
Choose later-day meals that freeze well. Freeze them fully in flat, leakproof containers so they stack and help cool adjacent food as they thaw. Do not partially cook raw meat for later completion; use safely refrigerated raw food or fully cooked and rapidly chilled food following official guidance.
Step 2: Pre-Chill the Cooler
Twenty-four hours before loading, move the empty cooler into a cool indoor location. Add sacrificial ice, frozen bottles, or packs. A cooler stored in a hot garage can absorb a significant part of the trip ice merely cooling its insulation.
Immediately before final loading, remove sacrificial meltwater, dry surfaces if food packaging requires it, and replace the pre-chill ice with the trip's clean cold sources. Sanitize food-contact surfaces according to the product instructions. Inspect the gasket, latch, drain plug, and hinges.
If pre-chilling is impossible, never compensate by loading warm groceries. Refrigerate all perishable items first and use more measured cold mass. A cooler slows heat gain; it is not a refrigerator designed to pull a whole load rapidly down from room temperature.
Step 3: Prepare and Label Food at Home
Wash whole produce, portion ingredients, mix spices, and complete most knife work where clean water and refrigeration are available. Label every container with meal, day, and contents. Add allergen warnings where needed.
Use rigid leakproof containers for fragile or raw items and durable sealed bags for flat foods. Double-contain raw meat and seafood. Keep original cooking and storage instructions or copy them onto the meal label.
Color or number meal bags by day. A simple system—Friday dinner red, Saturday breakfast blue—lets any adult retrieve food without holding the lid open. Keep condiments with the meal when the product permits rather than in a loose bottom layer.
Step 4: Freeze the Right Items
Freeze water bottles with expansion room, later meals that tolerate freezing, and reusable packs completely. A half-frozen pack offers less thermal reserve. Verify bottles and containers are intended for freezing; liquid expansion can split overfilled containers.
Keep first-night food chilled rather than frozen if it needs to cook immediately. Freeze later-day meat or cooked meals solid so their thawing schedule supports the menu. Never assume a food will thaw at a predictable hour; cooler temperature, package thickness, and ice contact change the rate.
Do not freeze foods whose texture or package integrity suffers unless that change is acceptable. Eggs in shells, glass containers, carbonated drinks, and some emulsions need specific handling. Follow product directions.
Step 5: Build a Cold Base
Place block ice, frozen bottles, or large gel packs across the bottom. A continuous base supports the coldest zone and melts more slowly than a thin scatter of cubes. Leave required drain or powered-cooler clearances.
Frozen bottles keep food dry and later provide drinking water, but they do not conform to small spaces. Commercial blocks last well; gel packs are reusable. The ideal base uses enough mass to cover most of the footprint without making the food unstable.
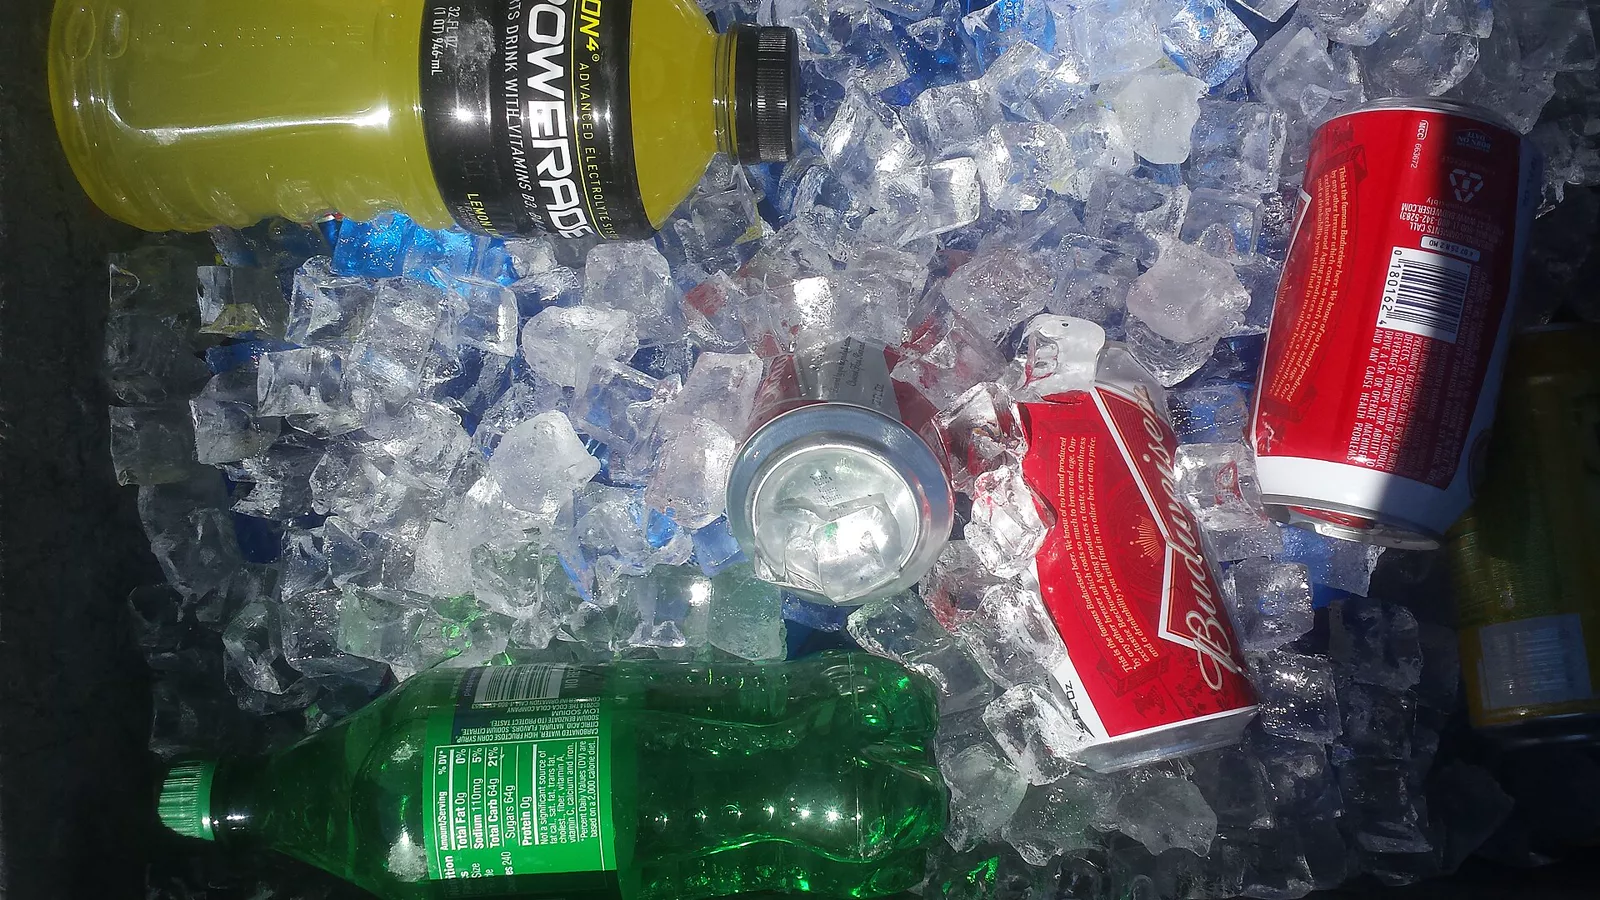
Step 6: Load Frozen and Raw Food Low
Place frozen later meals directly above or between the base cold sources. Put raw meat and seafood in sealed rigid containers or double containment at the lowest practical point, never above produce, drinks, or cooked food.
Keep poultry, ground meat, and whole cuts distinguishable and attach the intended cooking temperature. A food thermometer belongs in the kitchen kit, not buried in the cooler. For the complete raw-to-cooked workflow, see how to keep food safe while camping.
Pack containers tightly enough to resist tipping but not so tightly that lids deform. Test the cooler on level ground before transport and secure it in the vehicle so braking cannot invert the layers.
Step 7: Add Meal Bundles in Reverse Order
After the frozen layer, add the last planned meal, then work backward until the first meal sits at the top. This “last in first out” approach prevents excavation.
Place breakfast in a single basket or bag that includes all chilled components. Put shelf-stable oats and utensils elsewhere in the camp kitchen rather than using cold space. Apply the same rule to dinner: only truly chilled ingredients occupy the cooler.
Use a removable basket for delicate produce if the cooler provides one. Keep produce out of raw-food meltwater and avoid crushing it under blocks. Read easy camping meals for beginners for meals designed around one bundle and one pan.
Step 8: Fill Side Gaps With Cubes or Packs
Pour clean cubed ice around containers or insert flexible packs into every open channel. Air circulates inside voids and transfers heat; a dense load maintains temperature more evenly. Tap the cooler gently so cubes settle without damaging packaging.
If food must stay dry, use frozen bottles and gel packs instead of loose cubes, or seal food in waterproof containers. Do not trust thin retail packaging against prolonged meltwater. Keep drain plugs closed during transport and follow the cooler maker's guidance on retaining or draining water.
Avoid stuffing paper, dirty towels, or unknown insulation beside food. Any gap filler must be clean, food-safe for its intended use, and unable to contaminate meltwater.
Step 9: Add the Top Layer and Thermometer
Cover the upper food with cold packs or cubed ice because lid openings and sunlight introduce heat from above. Ensure the lid closes without pressing packages into the gasket. A blocked or folded seal leaks cold air continuously.
Place a cooler thermometer where it represents the warmest food area and remains readable during a planned opening. USDA recommends holding cold food at 40°F (4°C) or below. Test the thermometer before the trip and check it morning and evening or during normal meal access.
Ice presence is not a measurement. One frozen bottle can remain while food near the lid warms. How to keep food cold while camping explains retention variables, monitoring, hot-weather workflow, and fallback decisions.
Step 10: Create a Retrieval Map
Photograph the finished layers or tape a waterproof list beneath the lid without interfering with the seal. Record each meal's position. At camp, decide what to remove before opening, lift out the bundle, and close the lid immediately.
Do not rearrange the entire cooler at every meal. As food volume shrinks, consolidate cold sources around what remains and fill space with frozen bottles or clean packs. Keep raw containment intact even when little food remains.
Pack a Separate Drink or Day Cooler
For families and multi-day trips, drinks create most openings. Move water, cans, and same-day snacks to a second cooler. The main cooler then opens only for meals, preserving its cold mass.
A small soft cooler can hold lunch ingredients during an outing while the reserve remains secured. Transfer only already-cold items with enough ice and a thermometer when they are perishable. A soft bag is convenient but often has less insulation than a heavy hard cooler.
The tradeoff is extra vehicle space and ice. If one cooler is unavoidable, place drinks in a top basket and establish scheduled access rather than browsing.
Transport the Cooler Safely
Secure the cooler upright in the vehicle so it cannot slide, roll, or strike passengers. Keep it out of direct sun and away from exhaust, fuel, and chemicals. Do not place dry ice in an occupied vehicle without following all ventilation, supplier, and transport guidance.
At camp, move the cooler promptly to shade or the required wildlife-resistant location. A closed parked vehicle can become extremely hot, yet some parks require food storage in a hard-sided vehicle when no locker is available. Follow the land manager's rule first, then improve retention with cold mass and limited access.
Never use a cooler as a seat unless the manufacturer explicitly permits it. Weight can distort the lid or gasket and reduce sealing.
Scenario: One-Night Solo Trip
Use the smallest cooler that fits the menu plus adequate ice. Pre-chill it, place a frozen bottle below, load one dinner and breakfast in reverse order, fill gaps with a second bottle or packs, and put the thermometer near the upper food.
Avoid packing full condiment jars and extra ingredients. Single-meal portions create a denser, easier load. A shelf-stable breakfast can eliminate the second cold meal entirely.
Scenario: Three-Day Family Camp
Use a hard food cooler and separate drink cooler. Freeze day-three food flat, put it above the block base, load day-two bundles, then Friday dinner and Saturday breakfast at the top. Cubes fill gaps and a pack covers the lid area.
Create a written map and assign one adult to cooler access. Purchase replacement ice before the thermometer rises. Store both coolers in the campground's required locker or vehicle and clean exterior spills.
Scenario: Raw Meat and Produce
Put each raw protein in a sealed rigid container, then place those containers in the lowest food layer. Put washed whole produce in a raised basket or separate sealed bin. Pack the thermometer above the coldest base but near the most temperature-sensitive upper items.
At camp, the raw-food bundle moves directly to the prep zone; it never rests above salad or cooked food. The kitchen layout in how to set up a camp kitchen keeps storage, raw prep, cooking, serving, and washing paths separate.
Wildlife and Meltwater
A cooler is a wildlife attractant even when latched. Store it in the locker, hard-sided vehicle, certified container, or other method required locally. Do not assume a “bear-resistant” marketing phrase satisfies a park's approved-product requirement.
If draining meltwater, prevent raw-food contamination and follow wastewater rules. Never create a scented puddle beside camp. Secure the drain immediately afterward. How to keep animals away from your campsite covers food, trash, cookware, and scent storage.
Common Packing Mistakes
Loading room-temperature food
Ice energy is wasted cooling groceries. Chill every perishable before loading.
Packing in grocery-store order
Meal order, raw-food separation, and thaw schedule matter more than where items appeared in the cart.
Leaving air pockets
Fill side and top gaps with cold mass or appropriate clean material.
Putting first-night food at the bottom
Digging exposes every layer. Load the final meal first and the first meal last.
Burying the thermometer
It must be readable and located where it represents food risk, not touching only a frozen block.
Allowing raw packages to float in meltwater
Use robust double containment and keep ready-to-eat food physically separate.
Overfilling past the gasket
A lid that does not seal loses cold continuously. Repack or use a second cooler.
Packing no fallback meal
Cooler or ice failure should lead to a shelf-stable dinner, not risky food. Use camping food that doesn't need refrigeration for options.
Pre-Trip Checklist
- Write the chilled menu in meal order.
- Size portions to avoid opened leftovers.
- Inspect gasket, latch, drain, handles, and thermometer.
- Pre-chill the cooler and refrigerate all food.
- Freeze later meals, bottles, and packs completely.
- Label and bundle ingredients by day and meal.
- Double-contain raw meat and seafood.
- Build a base of blocks, bottles, or large packs.
- Load frozen later meals and raw food low.
- Load meal bundles in reverse chronological order.
- Fill side gaps with cubes or packs and add a top layer.
- Position the thermometer and verify 40°F or below.
- Create a retrieval map and separate drinks when possible.
- Secure the cooler for transport and wildlife storage.
Frequently Asked Questions
Should ice go above or below food?
Both. Put slow-melting blocks or frozen bottles below, cubes or packs around gaps, and another cold layer on top.
What food should go at the bottom?
Frozen later meals and double-contained raw protein belong in the cold lower zone. Ready-to-eat produce must stay protected from leakage.
How full should the cooler be?
Fill it densely enough to minimize air space while allowing the lid and gasket to close normally. Use more cold mass rather than warm filler.
Should I drain melted ice?
Follow cooler instructions and food-container needs. Cold water can improve contact, but contaminated or damaged packaging creates risk. Never drain scented water improperly.
Can I pack warm leftovers?
No. Cool food rapidly and safely under official guidance before it enters the cooler. A camping cooler should maintain cold food, not chill a warm pot.
Where does the thermometer go?
Place it in the food zone likely to warm first and where it can be read quickly, not directly against one ice block. Follow its instructions.
Final Takeaway
Packing a cooler is a reverse-order loading job: pre-chill, bundle meals, build a cold base, load frozen later meals and sealed raw food low, place first-use food high, fill every gap, add a top cold layer, and monitor 40°F or below. A retrieval map and separate drink cooler preserve the arrangement after arrival.
Sources and Further Reading
- USDA Food Safety and Inspection Service, Food Safety While Hiking, Camping & Boating.
- USDA Food Safety and Inspection Service, Keep Food Safe! Food Safety Basics.
- U.S. Food and Drug Administration, refrigerator and freezer storage guidance.
- U.S. National Park Service, campground food-storage and wildlife guidance.