
Practical Camping Guide
How to Make Ice Last Longer in a Cooler
To make ice last longer, pre-chill the cooler and everything going into it, use enough cold mass to fill the available space, combine slow-melting block ice with cubes or frozen packs, and keep the lid closed in deep shade. Separate drinks from perishable food when possible, because frequent openings are one of the fastest ways to shorten useful cooling time.
 By Danny WalkerUpdated 12 min read
To make ice last longer, pre-chill the cooler and everything going into it, use enough cold mass to fill the available space, combine slow-melting block ice with cubes or frozen packs, and keep the lid closed in deep shade. Separate drinks from perishable food when possible, because frequent openings are one of the fastest ways to shorten useful cooling time.
Ice retention is not the same as food safety. A few pieces of ice in meltwater do not prove that every package is safe. Put an appliance thermometer in the cooler and keep perishable food at 40°F (4°C) or below. If you cannot verify temperature and time, switch to shelf-stable food rather than guessing.
The Biggest Gains Come Before You Leave
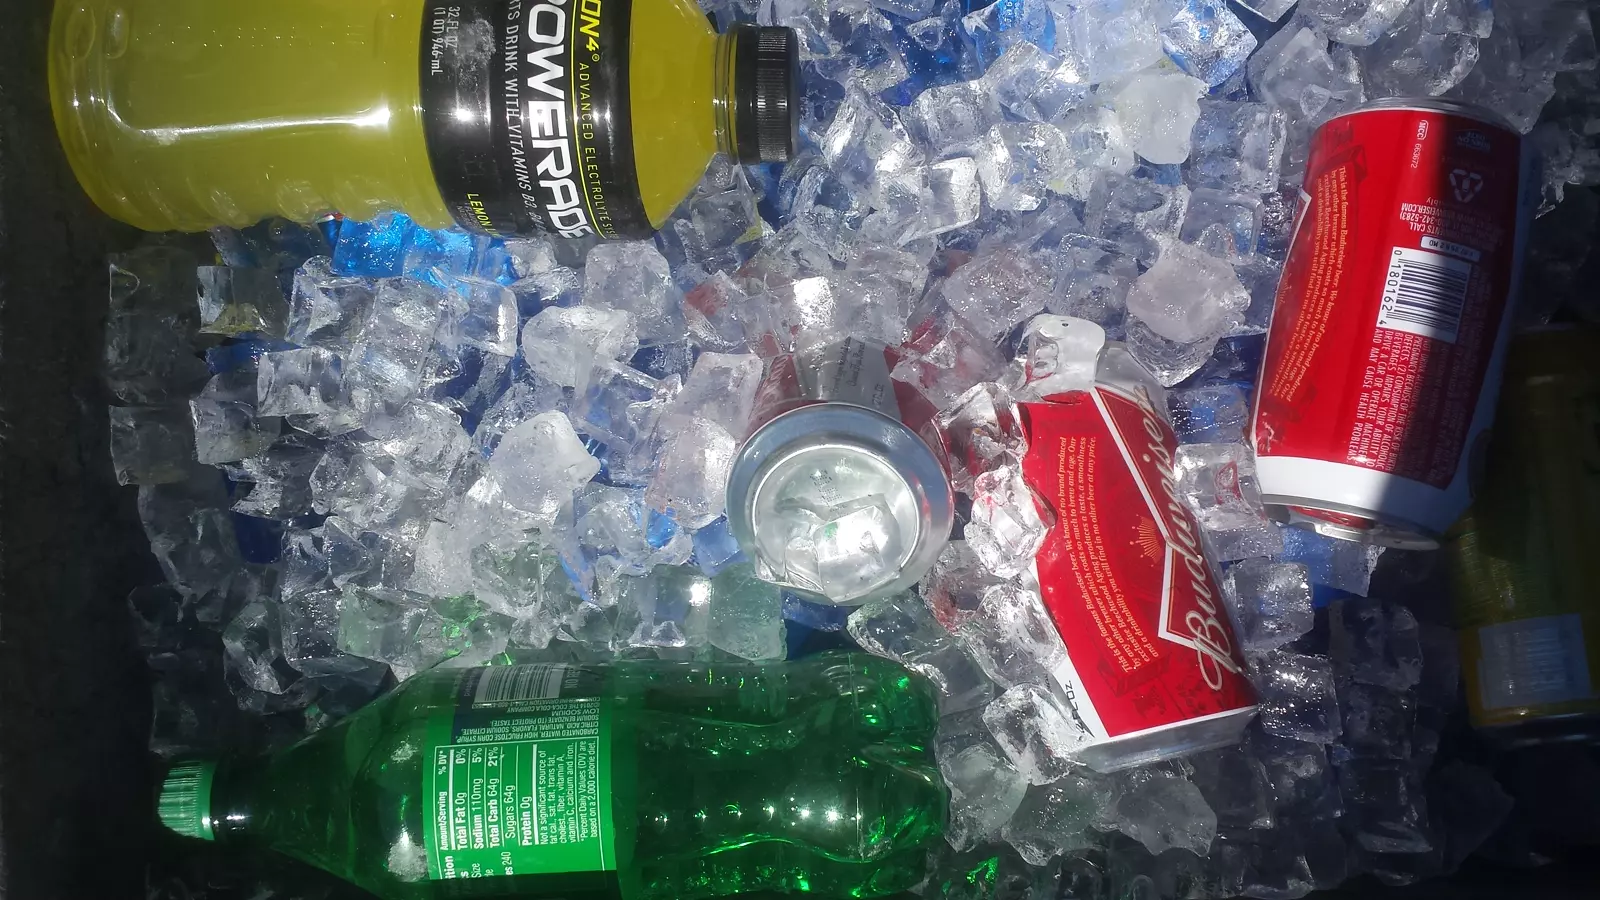
Most cooler problems begin with a warm box, warm groceries, too little ice, and a large pocket of warm air. Ice then spends its first hours cooling the equipment instead of holding an already-cold load.
Use this order of priorities:
| Priority | Action | Why it matters |
|---|---|---|
| 1 | Start with cold food and a cold cooler | Prevents an immediate drain on the ice |
| 2 | Add enough block ice, cubes, or frozen packs | Creates a larger cold reserve |
| 3 | Remove empty air space | Reduces warm-air exchange inside the box |
| 4 | Limit lid openings | Stops repeated replacement of cold air with warm air |
| 5 | Control sun and hot surfaces | Reduces heat entering through the walls |
A thicker, well-sealed cooler helps, but good preparation can improve almost any cooler. Conversely, even an expensive model performs poorly when loaded with room-temperature cans and opened every few minutes.
Step 1: Pre-Chill the Cooler
The evening before departure, place sacrificial ice, frozen bottles, or frozen packs inside the clean cooler. Keep it in the coolest practical indoor location. Shortly before final packing, remove the melted pre-chill load and replace it with fresh cold sources.
If you cannot pre-chill overnight, add ice for at least a few hours. Do not leave the cooler open in a hot garage or vehicle and expect the trip ice to cool thick walls instantly.
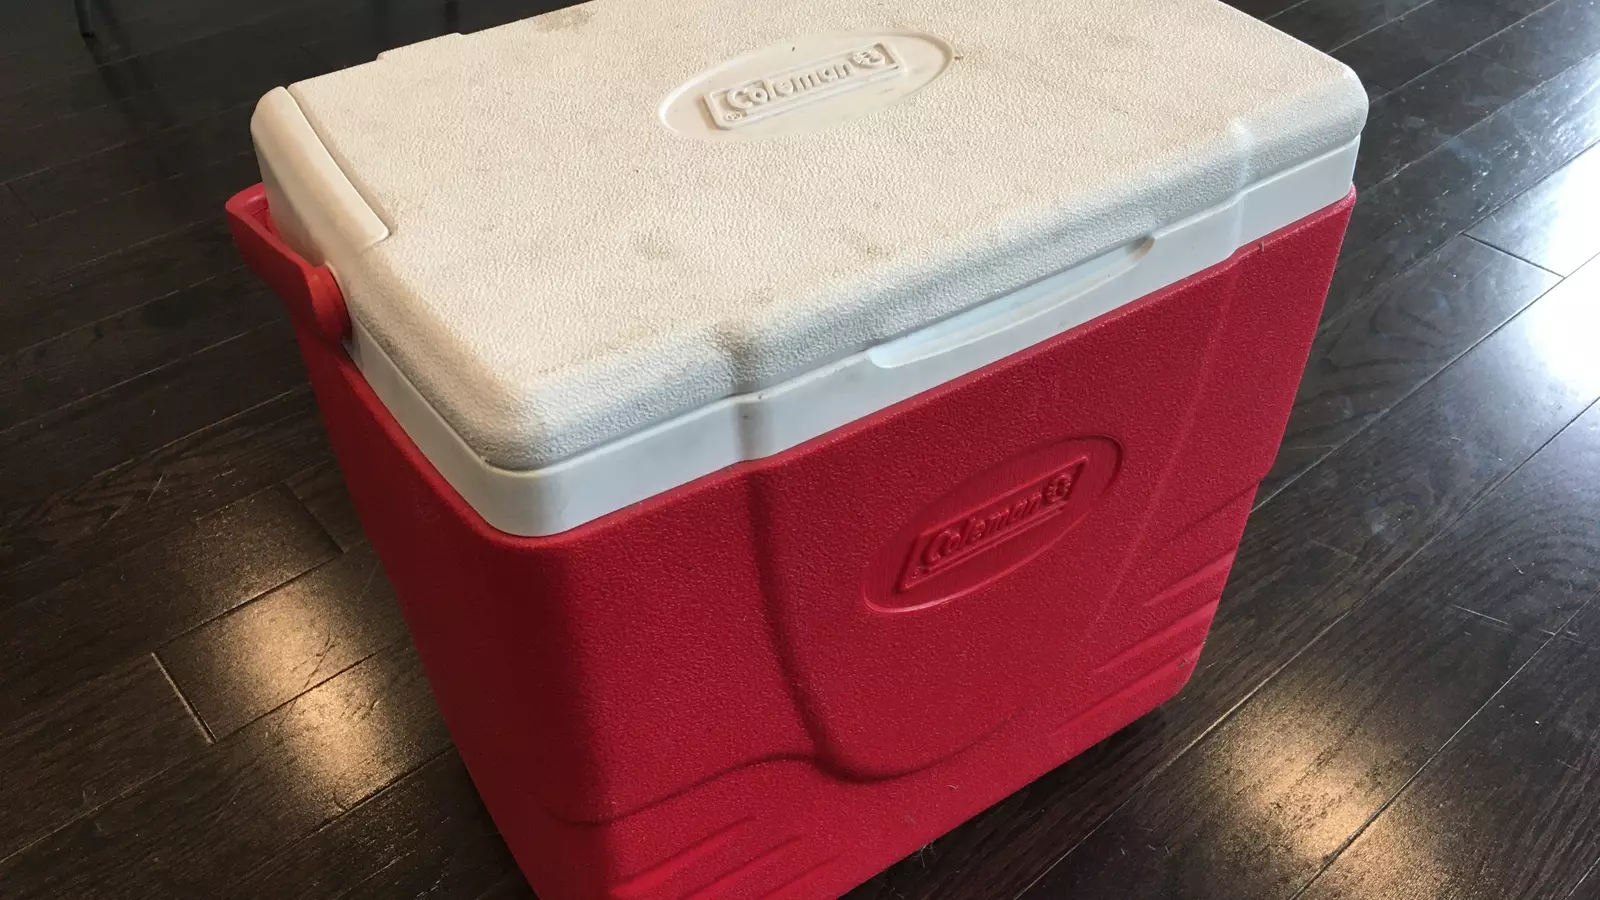
Pre-chilling is particularly important for rotomolded and other thick-walled coolers. Their insulation slows heat movement in both directions: once cold they resist incoming heat, but when warm they can absorb substantial cooling energy from the first ice load.
Step 2: Chill or Freeze the Contents
Refrigerate food and drinks before packing. Freeze later-trip meals when the ingredients and packaging tolerate freezing. Frozen water bottles act as cold mass, contain their meltwater, and become drinking water later.
Do not freeze glass bottles or overfilled rigid containers that may break or burst. Allow safe expansion space and follow the container manufacturer's instructions. Avoid freezing foods whose texture will be ruined unless that tradeoff is acceptable.
Plan the menu so the first meal is chilled and the final perishable meals begin frozen. This creates a natural progression as the cooler slowly warms. Use what food to bring camping to build a menu that matches the verified cold window.
Step 3: Choose the Right Cold Sources
Block ice generally melts more slowly than small cubes because less surface area is exposed. Cubes contact irregular packages and fill gaps more effectively. For many trips, the best setup uses both:
- A block or large frozen container near the bottom for endurance.
- Cubes or smaller frozen packs around food for fast, even cooling.
- Frozen bottles in remaining gaps.
- Fresh ice at the top, where warm air first enters when the lid opens.
Gel packs are reusable and reduce water inside the cooler. Their size, formulation, and freezing temperature vary, so compare them by real thermometer results rather than appearance.
Dry ice is a specialized option, not an ordinary upgrade. It can freeze food, cause cold burns, release carbon dioxide, and build pressure in an airtight space. Use it only if the cooler manufacturer permits it, with protective handling and ventilation guidance appropriate to the trip. Never improvise with it in a sealed vehicle or container.
Step 4: Use Enough Ice
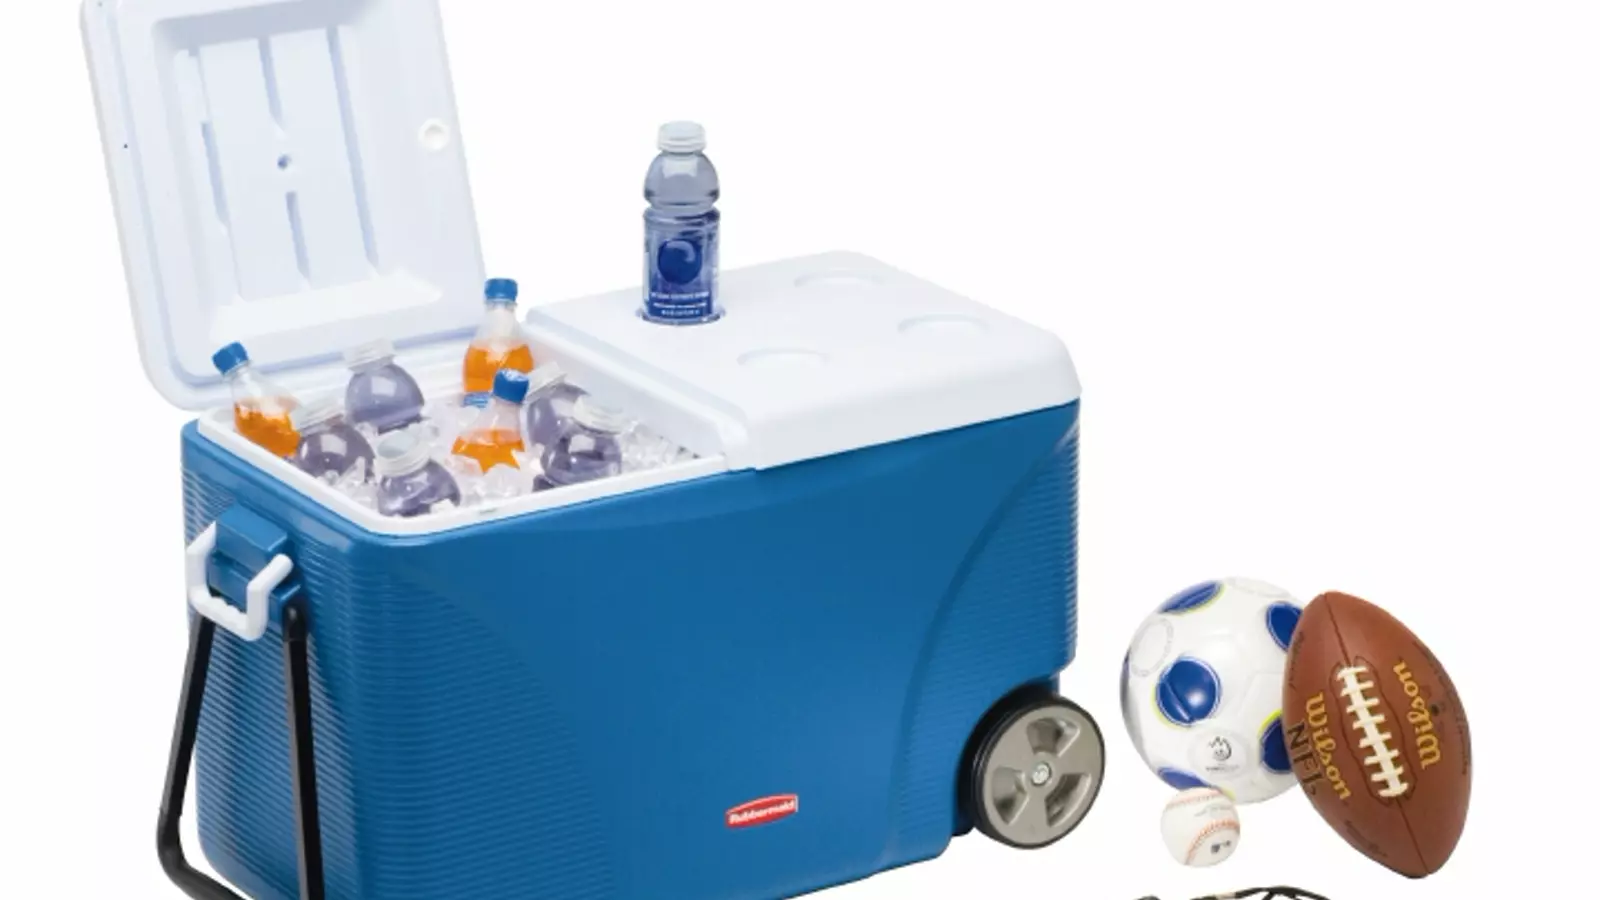
The correct quantity depends on the cooler, weather, food mass, opening frequency, and trip length. A commonly used starting heuristic for demanding conditions is about two parts ice to one part food by volume. That is not an official safety rule and may be impractical for every trip, but it illustrates why one small bag of ice rarely supports a large warm load.
Run a home test using the same cooler and realistic contents. Record the amount of ice, ambient temperature, opening schedule, and internal temperature. The result is more useful than a generic marketing claim.
For planning ranges and worked examples, read how long ice lasts in a cooler.
Step 5: Pack Densely and in Meal Order
Load later-trip meals first and the first meal last. Put raw meat below ready-to-eat food in leak-resistant secondary containment. Add cold sources around the food and fill remaining voids with frozen bottles, extra ice, or clean insulating material that will not become a contamination problem.
Do not crush food or block the lid from sealing. The goal is a dense, organized load, not maximum force. Keep a written inventory on top or on your phone so nobody holds the lid open while searching.
A practical bottom-to-top arrangement is:
- Durable block ice or frozen bottles.
- Frozen late-trip food.
- Sealed raw protein below all ready-to-eat items.
- Chilled meal containers surrounded by cubes or packs.
- First-use food and a top layer of ice.
- Thermometer where it can be read quickly.
The companion guide how to pack a cooler for camping covers the complete loading sequence and contamination controls.
Step 6: Separate Drinks From Food
Drinks create repeated openings, especially with a group or children. Put beverages in a second cooler or insulated bag. The drink cooler may lose ice faster, but the less frequently opened food cooler retains a stable temperature longer.
If you have only one cooler, place a limited supply of drinks near the top and move a small batch into an insulated bottle or bag at the beginning of the day. Do not bury drinks beneath raw food or unpack the entire cooler each time someone is thirsty.
Step 7: Keep the Cooler Out of Heat
At camp, move the cooler into deep, reliable shade. Remember that shade shifts as the sun moves. A reflective or light-colored cover can reduce radiant heating, while a blanket, sleeping pad, or folded towel may add insulation. Keep any cover clean and make sure it does not interfere with the cooler's closure or required ventilation.
Avoid dark pavement, hot sand, a sunlit picnic table, or the interior of a parked vehicle. Elevating the cooler slightly above a hot surface can reduce conductive heat, but it must remain stable and protected from tipping.
Wildlife rules still apply. Shade does not override a requirement to use a locker, locked hard-sided vehicle, or approved bear-resistant container. Follow how to store food while camping and the destination's current instructions.
Step 8: Open It Less and Close It Fast
Decide what you need before raising the lid. Remove ingredients for one task, then close and latch the cooler. Assign one person to retrieve food for a group meal rather than allowing several people to browse.
Use labeled meal bags or containers. Labels such as “Saturday breakfast” are faster than transparent containers filled with similar ingredients. Keep frequently used condiments in the drink cooler if they can remain safely cold there.
Do not open the cooler merely to check whether ice remains. Read an externally visible thermometer when available, or check quickly on a planned schedule.
Step 9: Manage Meltwater Deliberately
Cold meltwater can surround sealed food, remove warm air gaps, and continue contributing to cooling. Automatically draining it may replace cold water with warm air and shorten ice life.
However, meltwater is only useful when food containers are truly watertight and no raw-food leak has contaminated it. Drain when necessary to control a leak, reduce unsafe water contact, make room for resupply, or follow manufacturer instructions. Never assume a zip-top bag is guaranteed watertight under pressure from ice and other containers.
If raw juices escape, treat nearby ready-to-eat food as potentially contaminated. Ice retention is never worth compromising food hygiene.
Step 10: Re-Ice Before the Cooler Warms
Plan where and when you can buy ice. Refill while the load is still safely cold rather than waiting until all ice disappears. New ice can maintain cold food; it cannot reverse time that perishable food already spent above a safe temperature.
Work in shade, remove only what is necessary, add fresh cold sources, and close the lid. A block can restore endurance while cubes fill new gaps. Keep receipts or a trip note recording how much ice you used, which improves the next plan.
Three Scenario Plans
Two-night campground weekend
Pre-chill Friday morning, load cold dinner ingredients plus a frozen Saturday meal, and combine one block with cubes. Use a separate drink bag, keep the main cooler in shade, and check the thermometer morning and evening. Identify a Saturday ice source even if you may not need it.
Hot-weather family camp
Use separate food and drink coolers, freeze most drinks, and serve small portions instead of leaving full containers on the table. Rotate shade, cover the food cooler, and schedule daily ice resupply. Make the final meal shelf-stable so a delayed resupply does not create pressure to keep questionable food.
Remote trip without ice sales
Limit perishables to the early portion of the trip. Freeze them solid, use the most dependable cooler, and transition to camping food without refrigeration. No packing technique makes finite ice last indefinitely.
Food-Safety Limits Still Control the Plan
USDA guidance says cold perishable food should remain at or below 40°F. Food in the 40–140°F danger zone should not remain there for more than two hours, or more than one hour when conditions are above 90°F. Several shorter periods outside refrigeration are cumulative.
Use an appliance thermometer and record questionable periods. Smell, appearance, and taste cannot prove food is safe. If the temperature history is unknown, discard the perishable item. Do not taste it as a test.
Review how to keep food safe while camping for raw-food separation, cooking temperatures, and cleanup.
Common Mistakes That Melt Ice Faster
Loading a warm cooler
Thick insulated walls can absorb significant cooling energy. Pre-chill them.
Adding room-temperature drinks
Chill or freeze safe containers at home rather than asking trip ice to do the work.
Choosing an oversized cooler
Excess air space warms each time the lid opens. Match the cooler to the load or fill safe gaps.
Trusting the product's maximum claim
Test conditions may use a high ice ratio, stable temperature, and no openings. Your campsite is different.
Opening the lid to browse
Meal labels, an inventory, and a separate drink cooler prevent repeated warm-air exchange.
Waiting too long to resupply
Buy ice before the last cold reserve disappears and before food warms above 40°F.
Ignoring the lid seal
Clean the sealing surface and inspect hinges, latches, and gaskets. A warped lid or debris creates a continuous heat path.
Pre-Trip Ice-Retention Checklist
- Clean, dry, and inspect the cooler.
- Pre-chill it with sacrificial ice or frozen bottles.
- Refrigerate every perishable ingredient and drink.
- Freeze appropriate late-trip meals.
- Combine block ice with gap-filling cubes or packs.
- Pack densely in reverse meal order.
- Separate raw food below ready-to-eat food.
- Add and test an appliance thermometer.
- Use a separate drink cooler when practical.
- Identify shade and an ice-resupply location.
- Pack a shelf-stable backup meal.
- Confirm wildlife-storage requirements.
Frequently Asked Questions
Does salt make ice last longer in a cooler?
Salt lowers water's freezing point and can create a colder brine, but it also promotes faster melting. That may help rapidly chill beverages, not maximize how long solid ice remains. For camping food, prioritize pre-chilling, adequate ice, shade, and limited openings.
Is block ice better than cubed ice?
Block ice usually lasts longer, while cubes make better contact and fill gaps. Using both provides endurance and even cooling.
Should I put ice on the top or bottom?
Use cold sources throughout the load. A durable block at the bottom and cubes or packs around and above food can reduce warm pockets. Packing order and raw-food separation remain important.
Can I use frozen water bottles instead of ice?
Yes, if the bottles are suitable for freezing and have expansion room. They contain meltwater and later provide drinking water, though loose cubes may contact irregular containers more evenly.
How often should I add more ice?
Add it before temperatures rise, based on thermometer readings and a planned resupply schedule. Hot weather and frequent openings may require daily replacement.
Will wrapping a cooler in a blanket help?
An extra insulating layer and shade can reduce heat gain. Keep the material dry and clean, and never interfere with closure, safe transport, or manufacturer instructions.
Final Takeaway
Long ice life comes from controlling the entire heat budget: start cold, carry enough cold mass, eliminate unnecessary air, limit openings, block sun, and resupply early. Combine block ice with cubes or frozen packs and organize the cooler so each meal is retrieved quickly. Then verify performance with a thermometer. The objective is not merely to preserve a visible chunk of ice—it is to keep food at or below 40°F for the period you actually need.
Sources and Further Reading
- USDA Food Safety and Inspection Service, “Food Safety While Hiking, Camping & Boating.”
- USDA Food Safety and Inspection Service, “Pack Food Safety on Your Next Hike or Camping Trip.”
- USDA Food Safety and Inspection Service, “Safe Handling of Take-Out Foods.”