
Practical Camping Guide
How to Keep Food Cold While Camping
Keep food cold by pre-chilling both the food and cooler, loading cold items in meal order, surrounding them with enough ice or frozen packs, filling empty space, and checking a cooler thermometer for 40°F (4°C) or below. Use one cooler for perishable food and another for frequently opened drinks when possible. Keep the food cooler shaded, closed, and out of a hot vehicle.
 By Danny WalkerUpdated 12 min read
Keep food cold by pre-chilling both the food and cooler, loading cold items in meal order, surrounding them with enough ice or frozen packs, filling empty space, and checking a cooler thermometer for 40°F (4°C) or below. Use one cooler for perishable food and another for frequently opened drinks when possible. Keep the food cooler shaded, closed, and out of a hot vehicle.
The cooler does not create cold; it only slows heat entering. Its performance depends on starting temperature, insulation, ice mass, outside heat, sun, opening frequency, food-to-ice ratio, air gaps, and whether warm groceries are added. Marketing claims about “days of ice” cannot predict your campsite without those variables.
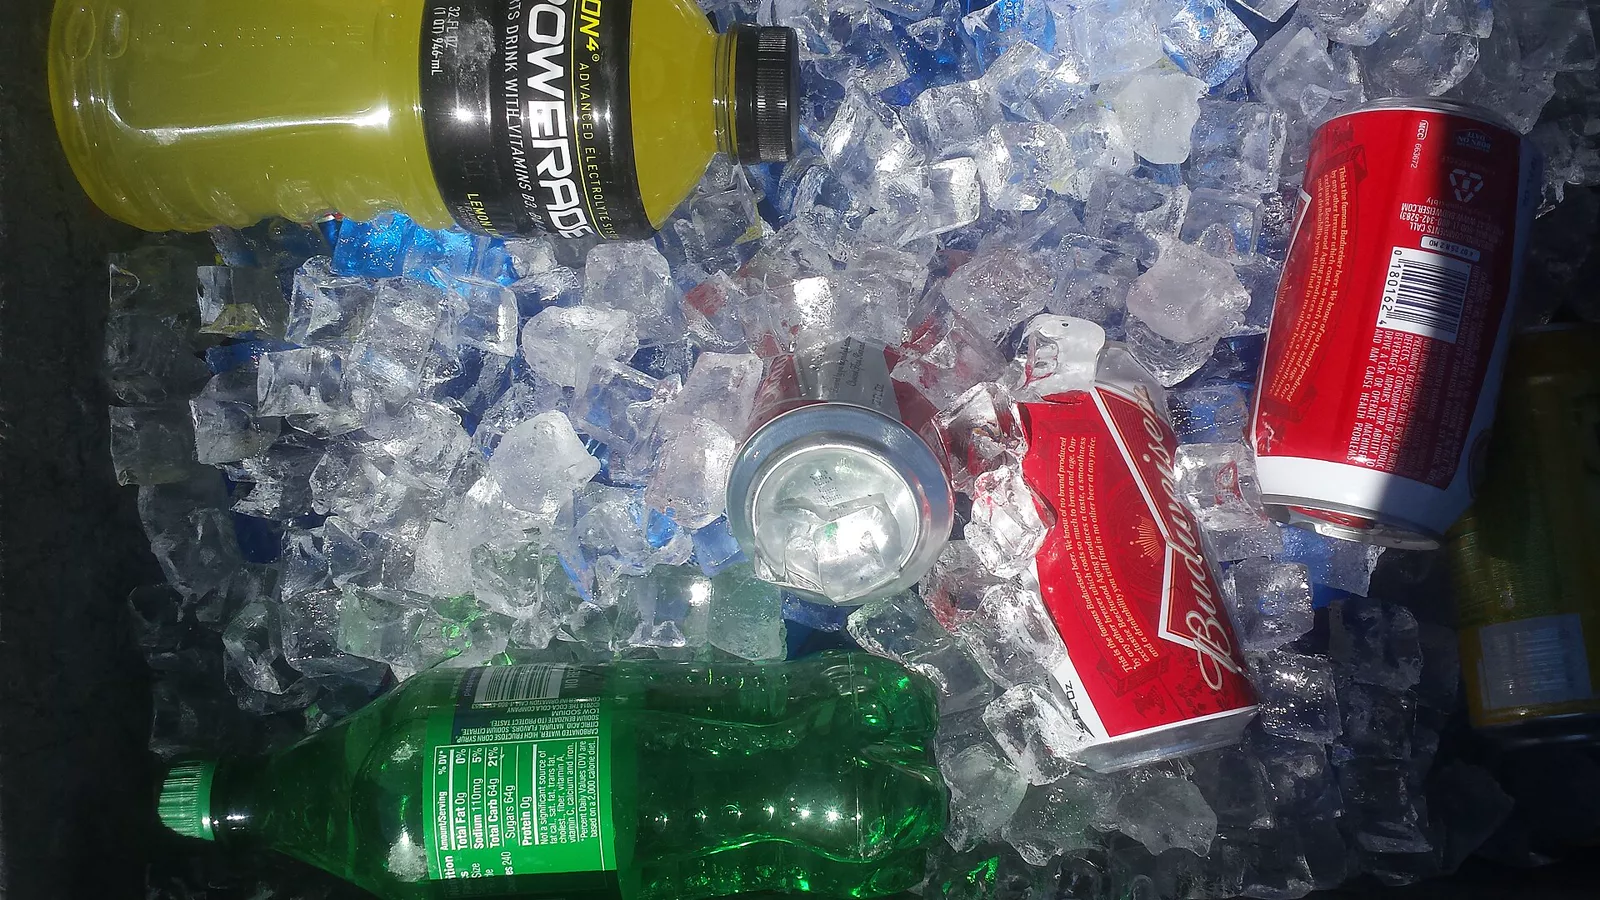
Cold-Retention Decision Table
| Trip condition | Best cooling approach | Why |
|---|---|---|
| One mild overnight | Frozen bottles or gel packs plus cubed ice | Simple, clean, and sufficient when measured |
| Two- to three-day car camp | Pre-chilled hard cooler, block ice, cubed ice | Block lasts; cubes fill gaps |
| Hot-weather campground | Separate food/drink coolers, extra ice plan | Reduces openings and supports replenishment |
| Food must stay dry | Sealed containers plus frozen bottles/packs | Avoids meltwater contact |
| Frequent access needed | Day-use cooler plus protected reserve cooler | Preserves the main cold mass |
| No dependable ice resupply | Frozen food, large blocks, shelf-stable later meals | Extends useful duration and reduces dependence |
Every setup still requires a thermometer. Ice remaining in one corner does not prove that all food stayed at or below 40°F.
Pre-Chill Everything
A warm cooler consumes ice before the trip begins. The day before departure, place sacrificial ice, frozen bottles, or reusable packs inside, then discard meltwater and load the cold food shortly before leaving. If pre-chilling is impossible, at least store the empty cooler in a cool indoor place rather than a sunny garage or vehicle.
Refrigerate food fully before packing. Freeze items that will be used later and that tolerate freezing safely, such as manufacturer-approved prepared meals or water bottles with expansion room. Do not place room-temperature drinks or freshly cooked warm food into the trip cooler; they spend the ice budget cooling themselves.
Chill beverages separately. A food cooler opened only at mealtimes retains cold far longer than one opened whenever someone wants a drink.
Choose the Cold Source
Block ice
Large blocks have less surface area relative to their mass, so they generally melt more slowly than small cubes. They make a durable base or central cold reservoir. Commercial block ice, safely frozen containers, or food-safe bottles can serve this role.
Cubed ice
Cubes flow around containers and eliminate warm air pockets. They cool quickly but melt faster. Combine cubes with blocks instead of choosing only one form for a multi-day trip.
Frozen water bottles
They keep food dry, become drinking water after thawing, and are easy to distribute. Leave expansion space and use bottles suitable for freezing. Do not drink from a bottle contaminated by raw-food leakage.
Gel packs
Reusable packs avoid loose water and fit around food. Their freezing point, mass, and flexibility vary. Freeze them completely according to instructions and use enough thermal mass rather than relying on one small pack.
Dry ice
Dry ice can freeze rather than merely chill food and introduces burn, ventilation, and pressure hazards. Never put it in an airtight container or occupied enclosed space. Use it only when the cooler maker, food packaging, transport rules, and supplier instructions explicitly support it. Ordinary ice is simpler for most beginners.
Load the Cooler in the Right Order
Place a cold block or frozen bottles at the bottom. Add the last-day frozen food next, then refrigerated food in sealed containers, filling side gaps with cubes or packs. Put first-meal ingredients near the top so opening is brief. Add a top cold layer because warm air enters from above.
Keep raw meat and seafood in leakproof double containment, low and separate from produce and ready-to-eat food. Use labeled meal bags or bins that can be lifted out as a unit. Do not bury the thermometer where it cannot be read; place it in the warmest useful monitoring area, often near the upper food layer, while following its instructions.
Fill unused volume with more cold packs, ice, or clean insulating material approved for food use. Trapped air circulates and speeds heat transfer. A full cooler stays cold longer than a half-empty one.
Measure Temperature, Not Ice Appearance
USDA advises keeping cold food at 40°F (4°C) or below. Use an appliance or cooler thermometer, verify it functions before departure, and check at consistent times without leaving the lid open.
Record the temperature morning and evening on longer trips. If it begins rising, add fresh ice before food warms beyond the safe limit. Replenishment is preventive; waiting until the last cube disappears is too late.
Meltwater can remain very cold and may improve thermal contact, but it can also contaminate packaging, soften labels, and leak raw-food juices. Follow cooler instructions. If draining, do it quickly, keep the drain closed afterward, and do not dump contaminated water where it violates campground or wildlife rules.
This guide focuses on maintaining cold. For time/temperature discard rules, raw-food separation, and cooking temperatures, use how to keep food safe while camping.
Control Heat at Camp
Keep the cooler in deep shade that will remain shade as the sun moves. A reflective cover can reduce radiant heating if it does not block ventilation required by an electric model or interfere with latches. Place insulation beneath it when the ground or vehicle bed is hot, using a stable dry barrier.
Do not leave the cooler in a closed vehicle. Interior temperatures can rise far above ambient conditions. Move it to a secure shaded location permitted by campground wildlife rules. Never compromise required bear-resistant storage for better shade; use the approved locker or hard-sided vehicle when mandated, then improve cold retention through ice and fewer openings.
Open the lid only with a plan. Read the meal list, gather clean tools, then remove everything needed at once. Close the lid before preparing food. Do not use the cooler as a chair or table; weight can deform seals and frequent contact encourages opening.
Hot-Weather Workflow
In high heat, buy ice as close to the campground as practical and know the next resupply location. Start with frozen later-day foods, use a dedicated beverage cooler, and place a small day-use selection in a secondary cooler so the reserve stays closed.
Serve perishables in small batches and return unused portions immediately. USDA's general rule is that perishable food should not remain in the 40–140°F (4–60°C) danger zone for more than two hours, reduced to one hour when ambient temperature exceeds 90°F (32°C). Cooler temperature and exposure time are separate measurements.
Switch later meals to shelf-stable foods if the cold chain becomes uncertain. Camping food that doesn't need refrigeration provides balanced alternatives rather than a snack-only fallback.
What Determines How Long a Cooler Lasts?
Insulation thickness and gasket quality matter, but so do conditions. A high-quality cooler poorly loaded with warm food may perform worse than a basic cooler pre-chilled and left closed.
Duration decreases with direct sun, high ambient temperature, hot ground, repeated access, insufficient ice, empty space, damaged seals, and adding warm items. It increases with pre-chilling, large cold mass, frozen later meals, block ice, shaded placement, separate drinks, and fast organized access.
Test the actual cooler at home in comparable temperature. Load water bottles and thermometer rather than risking food, then record temperature for the planned duration. This is a planning trial, not proof that future food remained safe.
One Cooler Versus Two
For a solo overnight, one carefully managed cooler may be appropriate. For a family or multi-day trip, separating beverages from perishable food is one of the strongest improvements because the drink lid opens far more often.
A third small day cooler can hold lunch ingredients while the main reserve remains sealed. The tradeoff is vehicle space and additional ice. Calculate food quantities first with how much food to bring camping so containers are not larger than necessary.
Worked Example: Two-Night Family Camp
The family pre-chills a hard food cooler overnight. Friday morning, they place two frozen water jugs on the bottom, frozen Saturday-dinner ingredients beside them, chilled Friday food above, and cubed ice in every gap. Raw meat sits in sealed containers at the bottom. A thermometer rests near the upper food layer.
Drinks and snacks go in a second cooler. Friday dinner is at the top; Saturday lunch is bundled next. At camp, both coolers enter an approved shaded food locker. The food cooler opens at breakfast, lunch, and dinner only. Temperature is checked during those openings, and replacement ice is purchased Saturday morning before the original supply becomes marginal.
Worked Example: No Ice Resupply
For a remote vehicle-accessible site, plan the coldest meals early, freeze later-meal ingredients, maximize block ice, and make final-day meals shelf-stable. Test whether the cooler holds 40°F or below for the needed time under comparable heat.
If testing or forecast makes that doubtful, change the menu rather than hoping. Do not pack raw meat for the final day. A shelf-stable dinner and breakfast preserve safety without requiring an oversized cooler.
Cooler Failure Fallback
If a latch breaks, move food quickly into another functioning cooler with clean ice. If a thermometer shows above 40°F, determine how long perishable food has been above the safe threshold. When time or temperature is unknown, discard it; smell and taste cannot verify safety.
Keep a no-cook shelf-stable meal for each critical fallback period. Know where ice is available, carry clean bags or containers for redistribution, and avoid cross-contaminating new ice with leaking raw-food packages.
Electric coolers need a power and ventilation plan. Verify voltage, vehicle-battery protection, campground rules, and an ice fallback. A device failure should not become a food emergency.
Wildlife-Safe Cooler Handling
A cooler is a food attractant whether empty, full, or recently cleaned. Store it in the provided locker, certified container, or hard-sided vehicle as required. Do not leave it unattended in shade if local rules demand locked storage.
Clean exterior spills and handles immediately. Secure drained water and food residue. How to keep animals away from your campsite covers scent control and storage; how to set up a camp kitchen helps keep the cooler outside the stove and dirty-dish zones.
Common Mistakes
Loading warm groceries
The ice is consumed cooling food. Refrigerate or freeze items before loading.
Using only a thin top layer of ice
Cold sources should surround food, with slow-melting blocks and gap-filling cubes or packs.
Trusting an “ice for five days” claim
Test conditions differ. Use a thermometer in your real climate and workflow.
Opening the lid to browse
Organize by meal and use a list so the lid stays open for seconds, not minutes.
Keeping drinks with raw food
Frequent access warms perishables and increases contamination opportunity. Separate coolers where practical.
Leaving empty space
Warm air circulates inside. Fill gaps with cold mass or suitable clean material.
Assuming food is safe because ice remains
Measure the food-zone temperature. One frozen corner does not represent the whole cooler.
Saving food after uncertain warming
When time above 40°F is unknown, discard perishables. Do not use taste as a test.
Cooler Packing Checklist
- Pre-chill the cooler overnight.
- Refrigerate or freeze every item before loading.
- Test and pack a cooler thermometer.
- Use block ice or frozen bottles for duration and cubes/packs for gaps.
- Seal raw meat low and away from ready-to-eat food.
- Load later meals frozen and first meals at the top.
- Fill empty air space and add a top cold layer.
- Separate drinks or create a day-use cooler.
- Keep the cooler shaded and out of a hot vehicle.
- Check temperature during planned openings.
- Replenish ice before the temperature rises.
- Maintain required wildlife-resistant storage.
- Pack shelf-stable fallback meals.
Frequently Asked Questions
How much ice should I use?
There is no universal ratio because cooler insulation, food temperature, trip duration, and weather differ. Fill remaining space with cold mass, test the setup, and monitor 40°F or below.
Is block ice better than cubes?
Block ice usually lasts longer; cubes fill gaps and cool surfaces quickly. Combining them offers both benefits.
Should I drain cooler water?
Very cold meltwater can support thermal contact, but it can contaminate packages. Follow cooler guidance and packaging needs; never let raw-food leakage spread.
Where should food go in the cooler?
Place slow-melting cold sources below and around food, later meals frozen near the bottom, raw foods sealed low, first meals near the top, and cold sources above.
How long will a cooler keep food safe?
Only thermometer readings under your conditions can answer. Keep food at 40°F (4°C) or below and apply official time rules after warming.
Can I refreeze thawed food?
Follow USDA guidance based on whether the food still contains ice crystals or remained at 40°F or below. When its temperature history is unknown, discard it.
Final Takeaway
Long cold retention comes from managing heat, not buying ice at the last minute. Pre-chill the cooler and food, combine durable blocks with gap-filling cubes or packs, load in meal order, eliminate air space, separate drinks, and measure 40°F or below. In hot weather, replenish early and switch to shelf-stable meals whenever the temperature history becomes uncertain.
Sources and Further Reading
- USDA Food Safety and Inspection Service, Food Safety While Hiking, Camping & Boating.
- USDA Food Safety and Inspection Service, Keep Food Safe! Food Safety Basics.
- USDA Food Safety and Inspection Service, Danger Zone (40°F–140°F) guidance.
- U.S. National Park Service, campground food-storage and wildlife guidance.
- U.S. Food and Drug Administration, refrigerator and freezer storage guidance.