Practical Camping Guide
Easy Camping Meals for Beginners
The easiest beginner camping meals use one heat source, one pot or skillet, familiar ingredients, and most cutting done at home. Choose no-cook breakfasts or lunches, reserve the stove for one simple hot dinner, and pack one complete emergency meal that needs no flame or refrigeration. Write the menu by day and portion rather than bringing assorted groceries and hoping they become meals.
By Danny WalkerUpdated 11 min read
The easiest beginner camping meals use one heat source, one pot or skillet, familiar ingredients, and most cutting done at home. Choose no-cook breakfasts or lunches, reserve the stove for one simple hot dinner, and pack one complete emergency meal that needs no flame or refrigeration. Write the menu by day and portion rather than bringing assorted groceries and hoping they become meals.
A reliable meal has four parts: a filling carbohydrate, a straightforward protein, fruit or vegetables, and a flavor component. Tortillas with beans and cheese, oatmeal with nuts and dried fruit, pasta with shelf-stable sauce and tuna, or rice with pre-cooked toppings all follow this pattern. The method matters more than a long recipe list.
Pick a Beginner Meal Format
| Format | Best time | Examples | Main advantage |
|---|---|---|---|
| No-cook | Arrival night, lunch, fire ban | Wraps, crackers and tuna, nut-butter sandwiches | No fuel or cleanup |
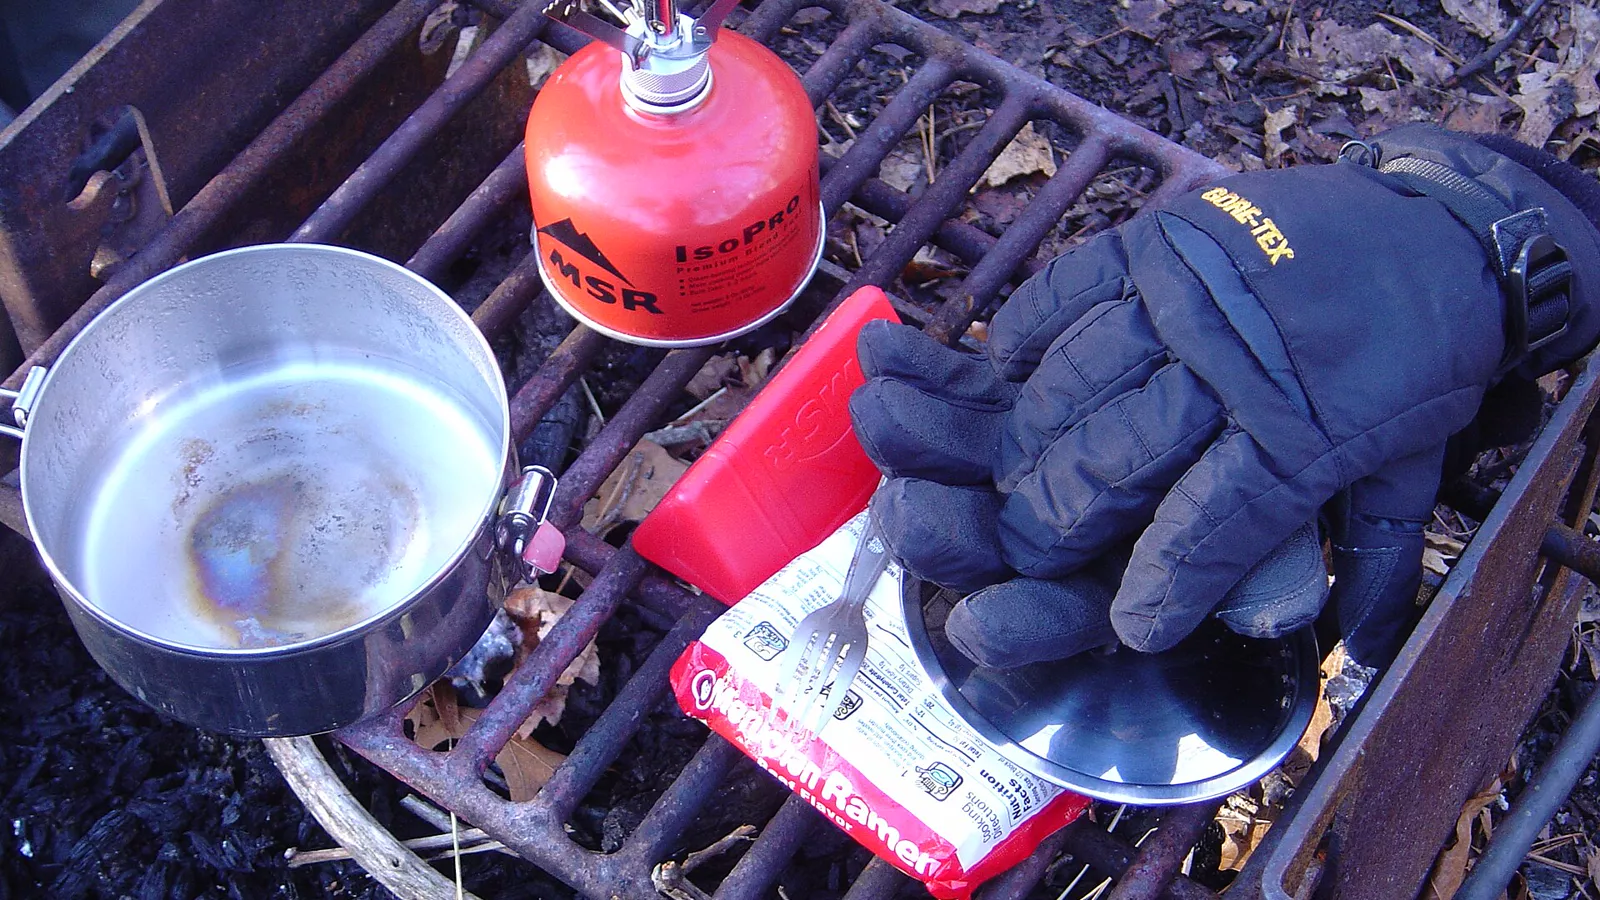
| Add hot water | Breakfast, backcountry dinner | Oatmeal, couscous, dehydrated meal | One vessel and short burn time |
| One-pot | Cool evenings | Pasta, chili, rice bowl, soup | Controlled heat and limited dishes |
| One-skillet | Frontcountry breakfast or dinner | Eggs and vegetables, quesadillas, hash | Familiar cooking technique |
| Grill or campfire | Only where allowed | Foil-free grate vegetables, skewers, sausages | Social cooking, but weather-dependent |
For a first trip, make at least half the meals no-cook or add-hot-water. Every extra burner and pan adds packing, fuel, washing, wastewater, and chances for raw-food contamination.
Use the Four-Part Meal Framework
Start with a base: tortillas, bread, oats, pasta, quick-cooking rice, couscous, potatoes, or crackers. Add protein such as beans, nut butter, eggs, tuna pouches, shelf-stable tofu, or safely chilled pre-cooked meat. Add produce selected for storage conditions, then a compact flavor layer: salsa packets, hard cheese where appropriate, spice mix, olive oil, dried herbs, or hot sauce.
This framework lets one ingredient serve several meals without tasting identical. Tortillas can hold breakfast eggs, lunch nut butter, and dinner beans. A bag of pre-cut vegetables can enter an omelet, cold wrap, or pasta. Repeated ingredients reduce forgotten half-packages and trash.
Do not treat shelf-stable as a guess. Read package instructions. Once opened, some products require refrigeration, and some “shelf-stable” foods are safe only before opening.
Easy Breakfasts
Overnight oats or cold cereal
Pre-measure oats, dried fruit, nuts, cinnamon, and milk powder into a container. Add safe water in the morning, or refrigerate overnight oats continuously at 40°F (4°C) or below. Pair with fruit and a hot drink if desired.
Instant oatmeal bar
Boil one pot of water and let everyone customize oats with nuts, seeds, dried fruit, or nut butter. Measure portions at home so breakfast does not turn into several open bags. The hot water can also make coffee or tea if total volume is planned.
Breakfast tortillas
For frontcountry camping, cook eggs thoroughly in one skillet, add pre-cut vegetables and cheese, then serve in tortillas. Keep shell eggs and other perishables safely chilled. Use a clean utensil and plate for cooked food.
No-cook breakfast box
Pack fruit, packaged bars, nut butter, crackers, and shelf-stable milk where dietary needs permit. This is ideal for departure morning when the stove is already packed.
Easy Lunches
Lunch should require no flame, particularly on a hiking day. Tortilla wraps resist crushing better than sliced bread. Fill them with nut butter and fruit spread, tuna or chicken pouches mixed just before eating, hummus kept safely chilled, or beans and vegetables.
Build a snack-style plate from crackers, a suitable protein, fruit, and vegetables. Individual portions reduce repeated cooler opening. For shelf-stable lunches, include sealed fish, nut or seed butter, dried fruit, and whole fruit that tolerates transport.
Pack condiments in small labeled leakproof containers rather than carrying full bottles. Keep allergens clearly separated, and do not share knives between allergen and non-allergen meals.
Easy One-Pot Dinners
Pasta with sauce and protein
Use a shape with a short cooking time. Measure pasta and water at home. Drain only if site rules provide an appropriate method; otherwise choose an absorption-style recipe. Stir in shelf-stable sauce and beans or tuna, then heat to a safe serving temperature.
Couscous bowls
Bring water to a boil, turn off the stove, add couscous, cover, and let it hydrate. Mix in chickpeas, dried vegetables, olive oil, and seasoning. This uses little fuel and works well for backcountry travel.
Quick chili
Combine canned beans, tomatoes, corn, and a measured spice blend. Heat thoroughly in one pot, stirring to prevent scorching. Serve with tortillas or chips. Choose can sizes the group will finish because leftovers require rapid cooling and cold storage.
Rice and topping bowls
Use quick-cooking or pre-cooked packaged rice according to instructions. Add safely chilled cooked vegetables and protein, or shelf-stable beans. Finish with a sauce packet. Do not bring partially cooked meat for later completion.
Easy Skillet and Grill Meals
Quesadillas need tortillas, cheese kept at the required temperature, and optional beans or pre-cooked vegetables. Use moderate heat and one spatula. Skillet hash combines pre-cooked potatoes, vegetables, and fully cooked sausage; all perishables must remain cold until use and be reheated safely.
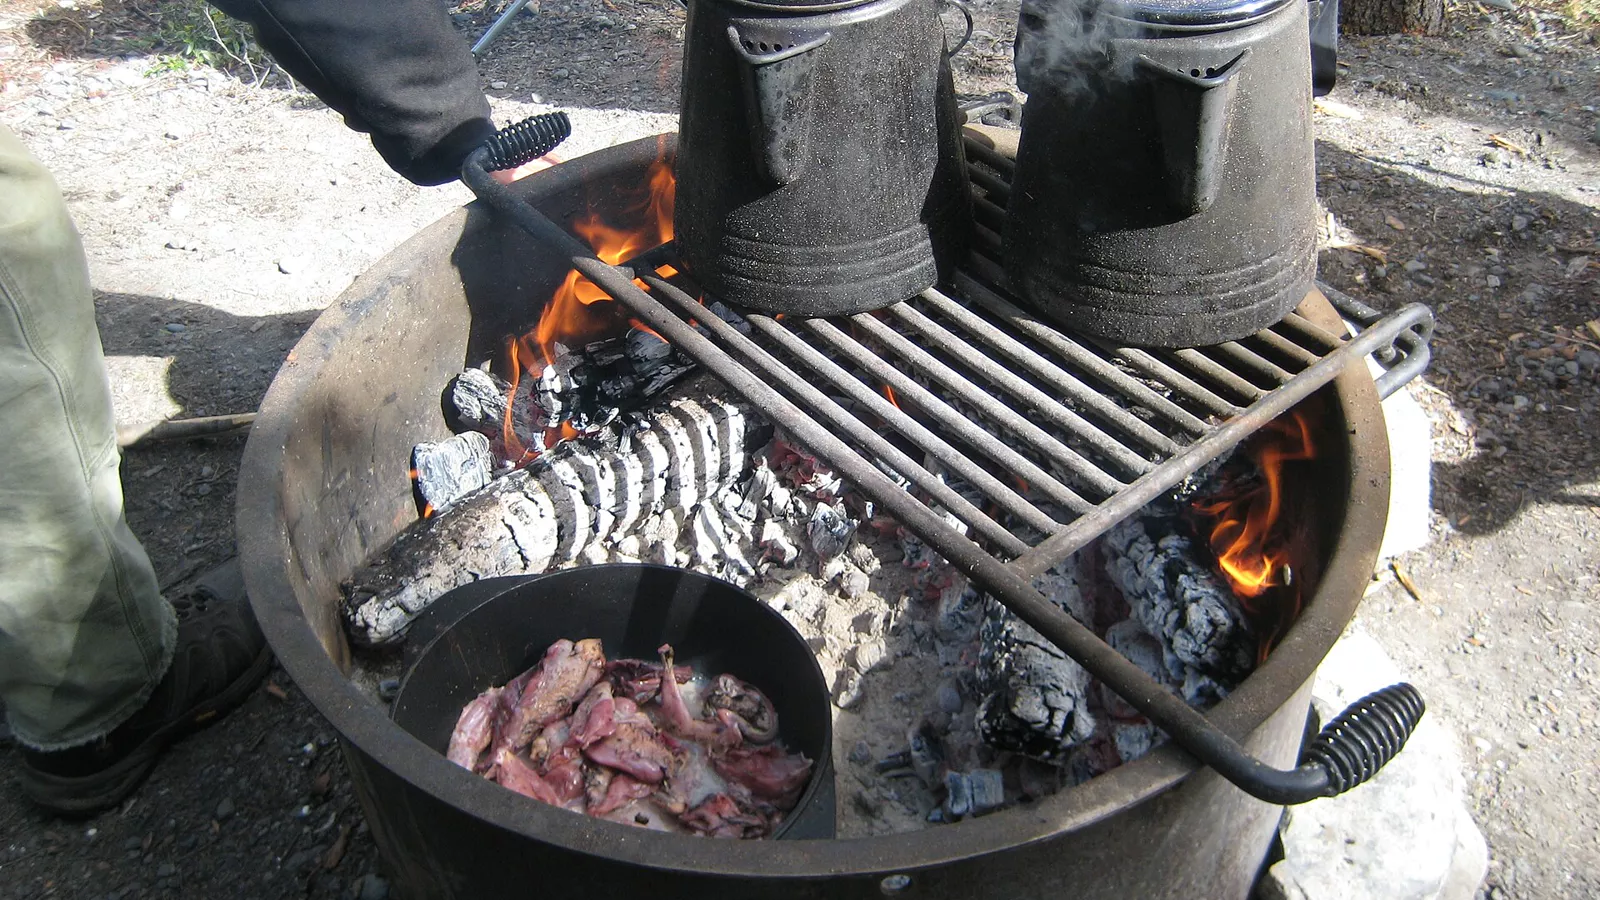
Grilling is optional. Check fire restrictions and whether the provided grate is usable. Bring a stove backup because wind, rain, or a ban may eliminate the fire. Never use an improvised grate coated with unknown material. Keep raw meat utensils separate and verify doneness with a thermometer.
Prep at Home
Wash produce, measure dry ingredients, mix spices, portion snacks, and label every container with the meal and day. Freeze appropriate food before loading the cooler so it helps maintain temperature while thawing safely. Pack the first meal near the top and later meals lower.
Create one bag per meal containing shelf-stable ingredients and a short instruction card. Note water volume, cookware, cooking time, and which cooler item to add. This prevents unloading the whole kitchen and allows another adult to cook without interpreting the plan.
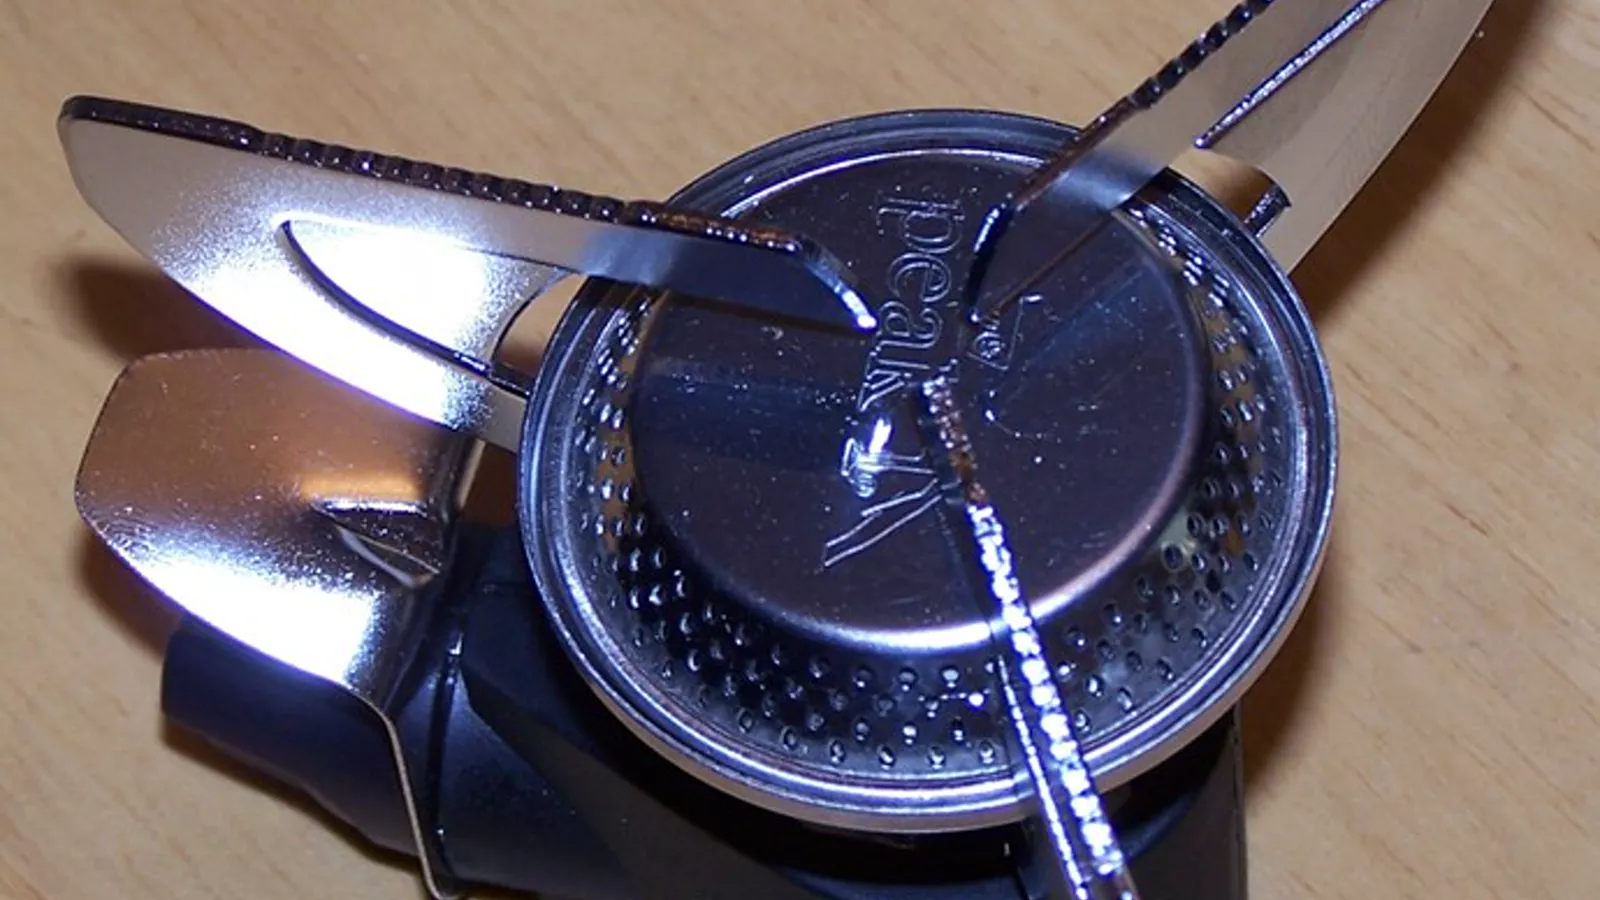
Perform a complete practice meal outdoors. Verify stove stability, fuel connection, simmer control, pot capacity, and cleanup water. How to cook while camping covers equipment, carbon monoxide, fire, and thermometer use in depth.
Estimate Quantities Without Overpacking
Use the package serving as a starting point, then adjust for age, activity, weather, and known appetite. For each person per meal, many beginners can begin planning around one main portion, one produce portion, and a small reserve—not unlimited shared bags.
Count exact units: two tortillas per adult dinner, one oatmeal packet or measured portion per breakfast, one tuna pouch per planned lunch, and one snack bundle per trail period. Add roughly one extra simple group meal for delay or stove failure rather than doubling every ingredient.
Water planning includes drinking, cooking, handwashing, and dishes. Foods that require long boiling can consume both water and fuel. How to camp without running water helps size containers and treatment backup.
Keep Food Safe
USDA advises keeping cold food at 40°F (4°C) or below. Use a cooler thermometer, enough ice or frozen packs, short opening times, and a separate drink cooler when practical. Store raw meat in sealed containers below ready-to-eat items.
Use a food thermometer. USDA minimum internal temperatures include 165°F (74°C) for poultry and leftovers, 160°F (71°C) for ground meats, and 145°F (63°C) followed by a three-minute rest for whole cuts of beef, pork, veal, and lamb. Confirm current guidance for the exact food.
Perishable food should not remain in the 40–140°F (4–60°C) danger zone longer than two hours, or one hour when ambient temperature exceeds 90°F (32°C). When safe storage is uncertain, discard it. Read how to keep food safe while camping for the full cold-chain workflow.
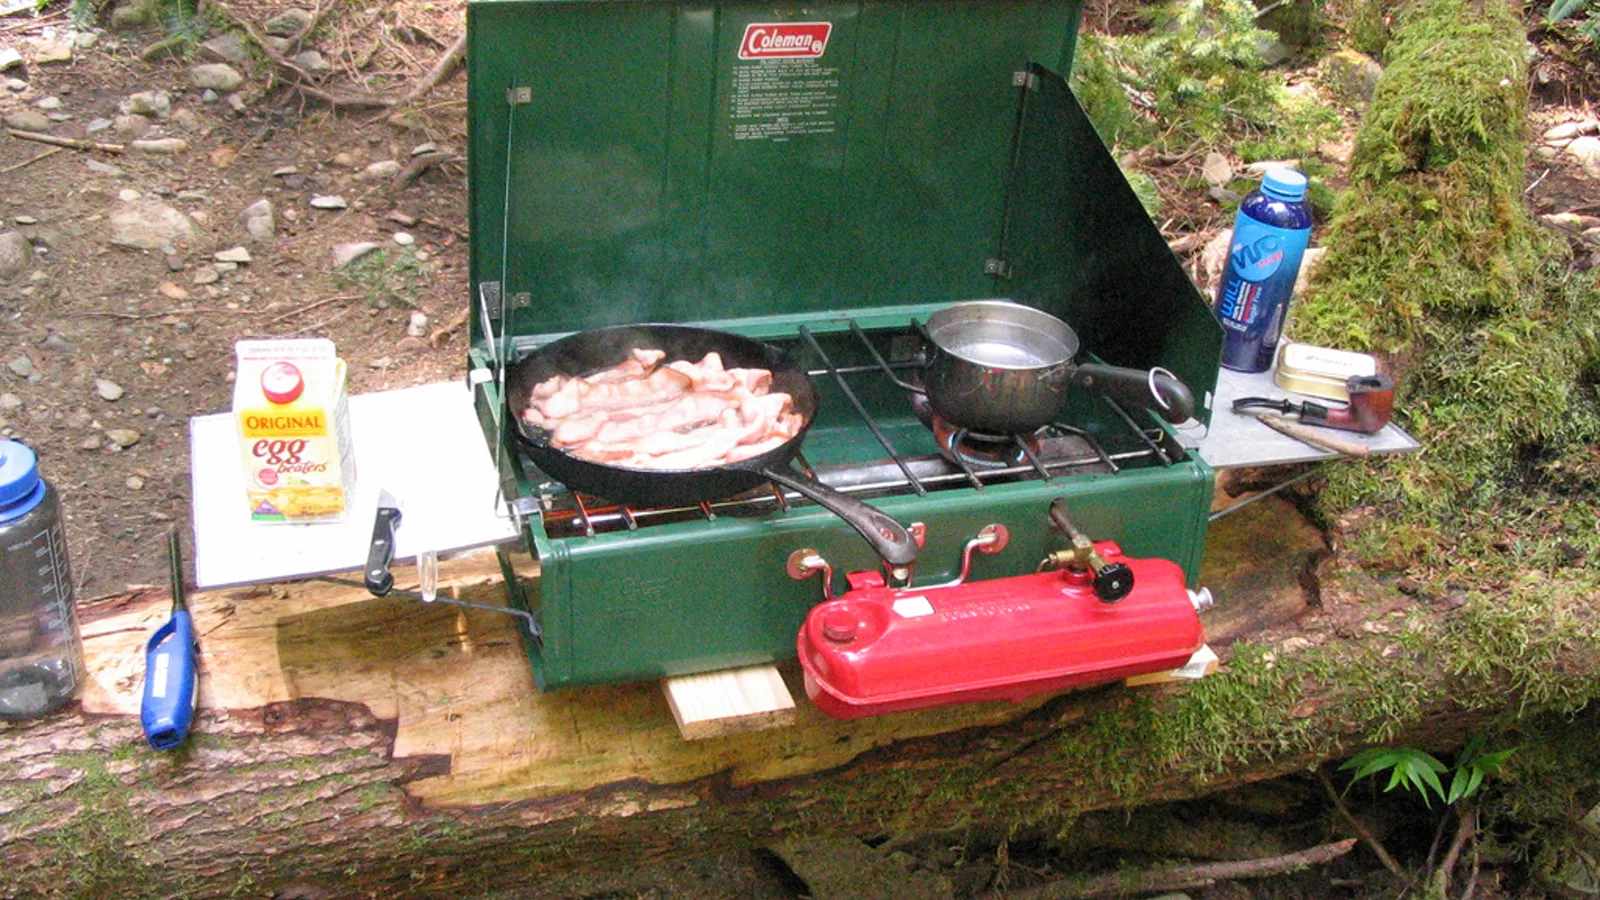
Sample Two-Day Menu for Two Adults
Arrival evening
- No-cook bean-and-cheese wraps with pre-washed vegetables.
- Whole fruit.
- Emergency option: nut-butter crackers if arrival is late.
Day one breakfast
- Instant oatmeal with dried fruit and nuts.
- Coffee or tea from the same hot-water batch.
Day one lunch
- Tuna-pouch tortillas with condiment packets.
- Apples and a measured trail mix portion.
Day one dinner
- One-pot short pasta with shelf-stable sauce and beans.
- Pre-washed vegetables cooked in the same sauce.
Day two breakfast
- Breakfast tortillas with eggs and pre-cut vegetables.
- Use a no-cook breakfast instead if breaking camp early.
Day two lunch
- Crackers, nut or seed butter, suitable cheese, and remaining fruit.
- Packaged backup bars for travel delay.
This menu reuses tortillas, fruit, vegetables, and flavor packets while limiting raw meat. Adjust for dietary needs, refrigeration, group appetite, and trip activity.
Set Up for Efficient Cooking and Cleanup
Separate food storage, clean preparation, stove, serving, dirty dishes, and waste. Establish wildlife-safe storage before opening food. Put the stove outdoors on a stable approved surface away from tent fabric and dry vegetation. How to set up a camp kitchen provides the complete zone layout.
Scrape particles into trash, wash away from natural water, strain wastewater, and dispose of it according to local rules. Store cookware, grease, food, trash, and scented products as the land manager requires. Use how to keep animals away from your campsite for storage behavior, not improvised deterrents.
Common Mistakes
Planning every meal hot
This increases fuel, time, dishes, and failure points. Include no-cook meals and a flame-free backup.
Bringing ingredients instead of meals
Assign every item to a day and portion. Unassigned groceries become waste and clutter.
Choosing recipes with different cookware
Build the menu around one pot and one skillet rather than packing a home kitchen.
Trusting cooler ice by sight
Remaining ice does not prove food stayed safe. Use a thermometer and keep the lid closed.
Using appearance to judge meat
Color is unreliable. Measure the thickest part with a clean thermometer.
Depending on a campfire
Restrictions and weather change. Bring an allowed stove or no-cook plan.
Saving questionable leftovers
Cooling a large pot safely at camp is difficult. Cook quantities the group can finish and discard food when time or temperature is uncertain.
Beginner Meal Checklist
- Assign breakfast, lunch, dinner, and snacks to every day.
- Include at least one complete no-cook emergency meal.
- Select recipes using one pot, skillet, or hot-water batch.
- Measure portions, water, and spice mixes at home.
- Label each meal bag and note cooking instructions.
- Test stove, cookware, and one full recipe outdoors.
- Pre-chill food and pack a cooler thermometer.
- Separate raw foods from ready-to-eat items.
- Bring a food thermometer and current safe-temperature guidance.
- Confirm potable water, fire rules, and wildlife storage.
- Pack handwashing, dishwashing, straining, and trash supplies.
- Store every scented item immediately after cleanup.
Frequently Asked Questions
What is the easiest first-night camping dinner?
A no-cook wrap or shelf-stable snack plate is easiest because arrival, shelter setup, and fading light already demand attention. Save stove cooking for a settled night.
What foods do not need a cooler?
Unopened shelf-stable items can include oats, pasta, rice, tortillas, crackers, beans, tuna pouches, nut butter, dried fruit, and whole produce. Follow each label after opening.
How much food should I bring?
Plan exact servings for each meal and snack, then add one simple group contingency meal. Adjust for activity, weather, age, appetite, and dietary needs.
Can I prepare meat at home?
You can portion raw meat into leakproof chilled storage or fully cook and rapidly chill it using safe methods. Do not partially cook meat for later finishing.
What can I cook during a fire ban?
Rules differ. Some bans permit specified stoves with shutoff valves; others are stricter. Check the current order and carry no-cook food that works without any flame.
How do I reduce dishes?
Use tortillas as plates, choose one-pot absorption meals, prep at home, and let each person use one bowl and utensil. Food safety still requires separating raw and cooked tools.
Final Takeaway
Beginner camp meals succeed through structure, not elaborate recipes. Use the four-part meal framework, make lunches and arrival dinner no-cook, reserve one pot or skillet for hot meals, and portion everything at home. Protect the cold chain, measure doneness, carry a flame-free backup, and close every meal with wildlife-safe cleanup.
Sources and Further Reading
- USDA Food Safety and Inspection Service, Food Safety While Hiking, Camping & Boating.
- USDA Food Safety and Inspection Service, Safe Minimum Internal Temperature Chart.
- U.S. National Park Service, campground food-storage and fire-safety guidance.
- U.S. Centers for Disease Control and Prevention, food and water safety guidance.
- Leave No Trace Center for Outdoor Ethics, food, fire, and wastewater principles.